
Herringbone Red Oak — Kitchen Installation
Red oak · herringbone pattern · nail-down · kitchen installation
Documented by Sonia Olivas, Owner · Olivas Hardwood Flooring
Service
Hardwood InstallationLocation
Atlanta, GACompleted
July 2024
Documentation
6 photos
Scope
Red oak · herringbone pattern · nail-down · kitchen installation
Project Notes
How This Project Came Together
Installing a herringbone pattern in a kitchen is a project that starts at the drawing board, not at the saw. The pattern has to be laid out centered on the room's visual axis — usually the centerline between the two longest walls or, in a kitchen, aligned with the island or the cabinetry bank. Getting this wrong means the border boards at the perimeter end up at arbitrary widths on opposite sides of the room, which looks intentionally asymmetric. We lay out the full pattern on paper before cutting a single board.
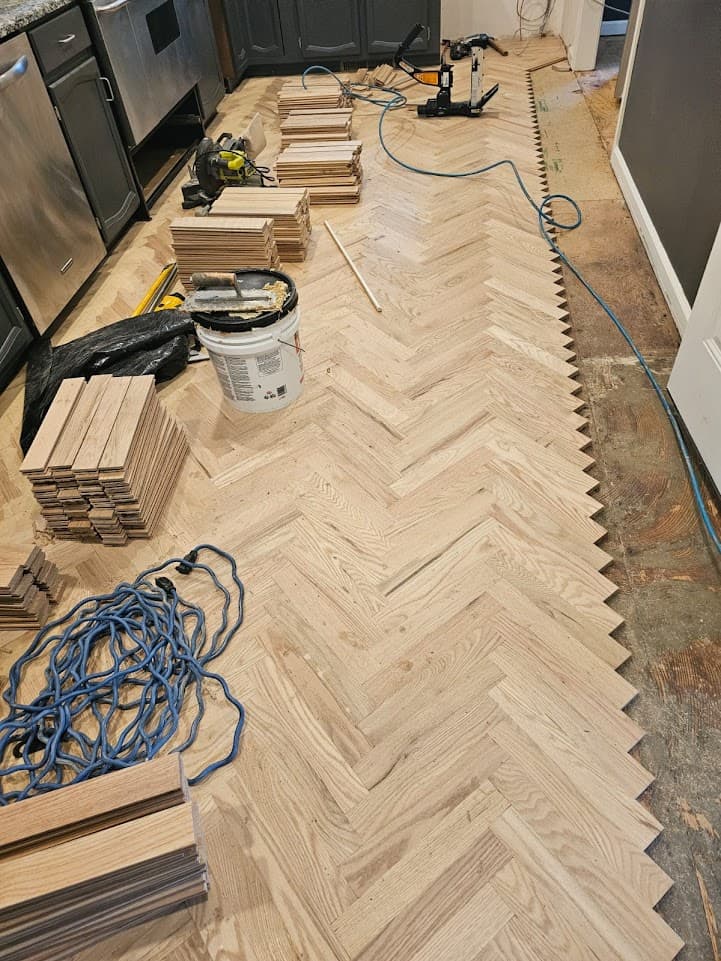
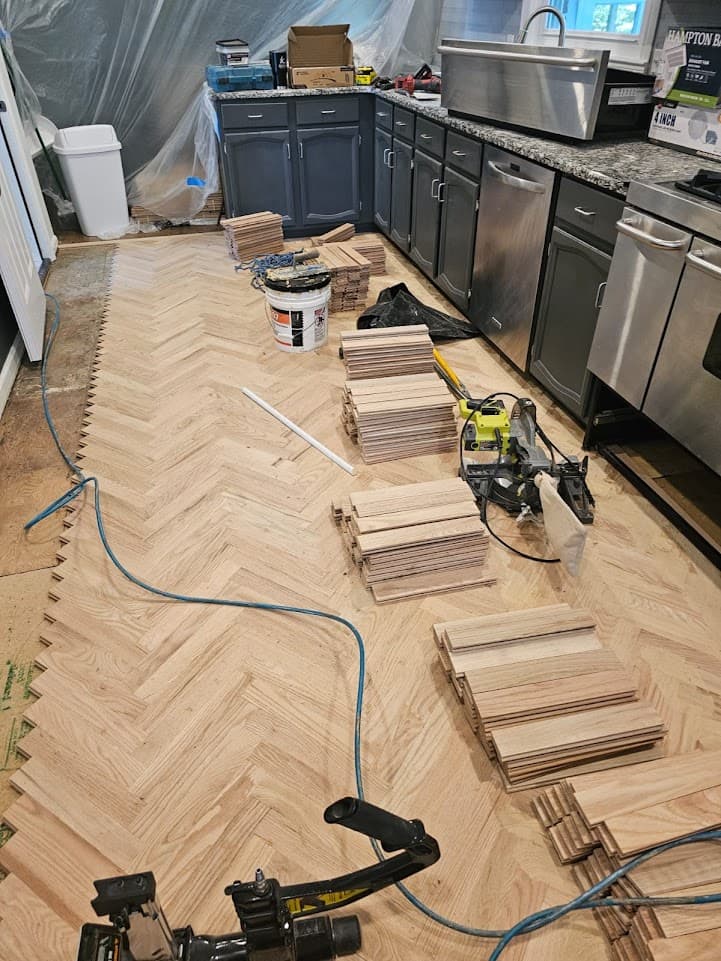
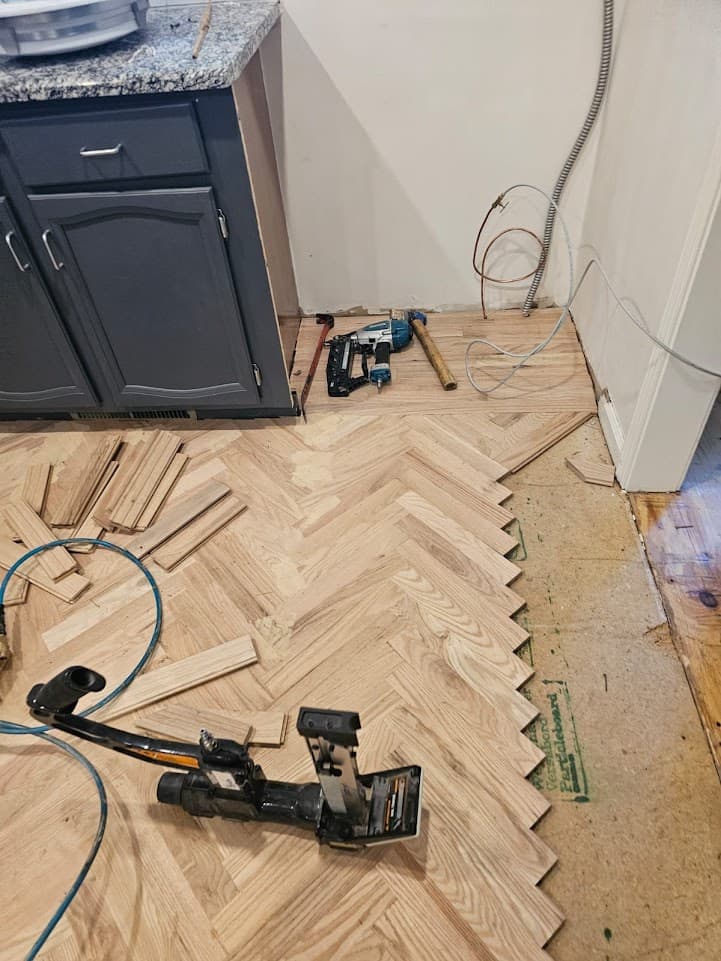
This Atlanta kitchen got a red oak herringbone installation — 2¼-inch strips cut at 45 degrees and laid in a classic V-pattern. The layout was centered on the island, which put the pattern's apex at the kitchen's main work axis and let the pattern radiate outward symmetrically to the perimeter. The border consisted of a straight-lay soldier course at the perimeter walls, which is standard practice for herringbone because it gives you a clean edge to cut to rather than a jagged diagonal.
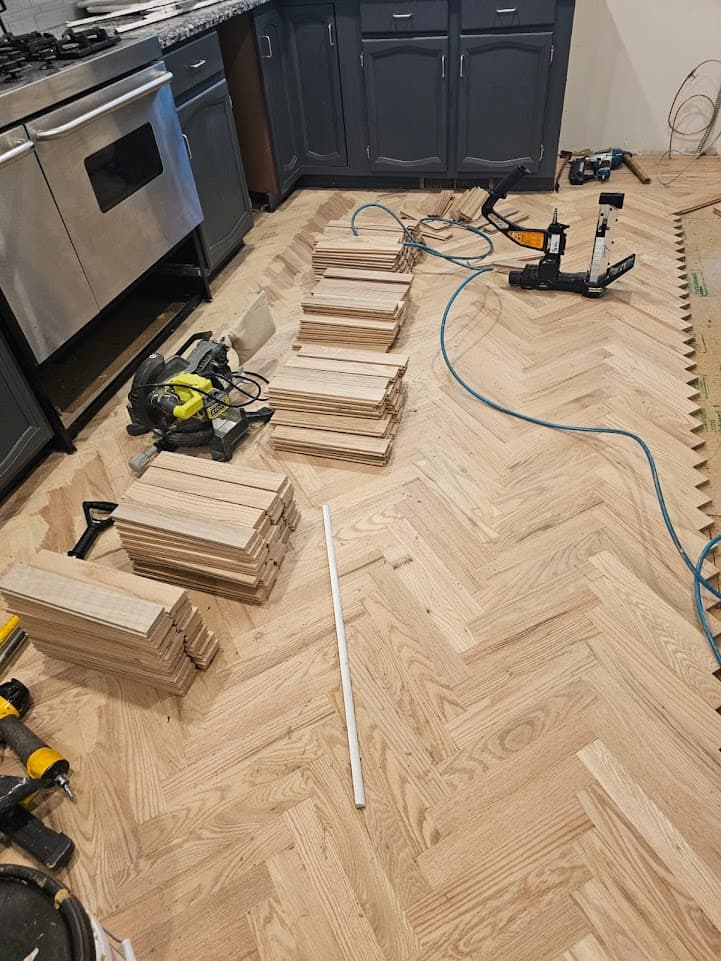
Installation started with the layout line — a chalk line marking the centerline of the room — and two starter boards placed at 45 degrees on either side of it, confirming the pattern's axis. From there, installation progresses in V-shaped pairs: one board to the left diagonal, one to the right, repeat. Maintaining consistent spacing between boards while also maintaining the 45-degree angle requires frequent spot-checking with a framing square.
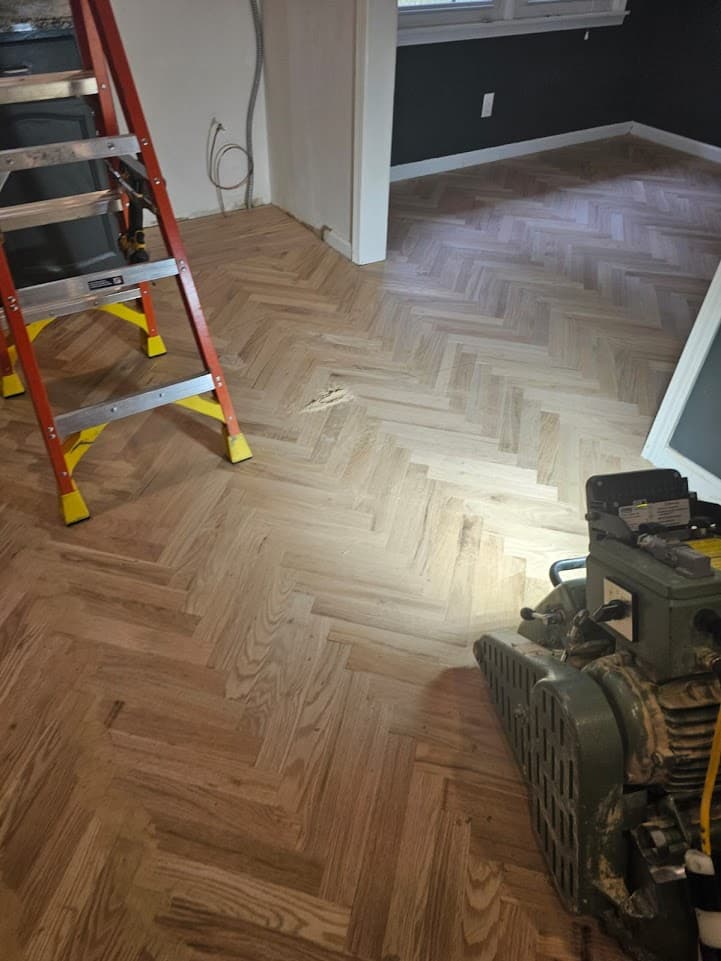
The six installation photos document four phases: raw subfloor preparation, mid-installation with the pattern established but not complete, the border installation, and the finished sanded surface before finish. The drum sander pass is particularly visible in the before-and-after images — the herringbone pattern blends together under the sander into an almost woven texture that you can't quite read as individual boards until you're looking at it closely.
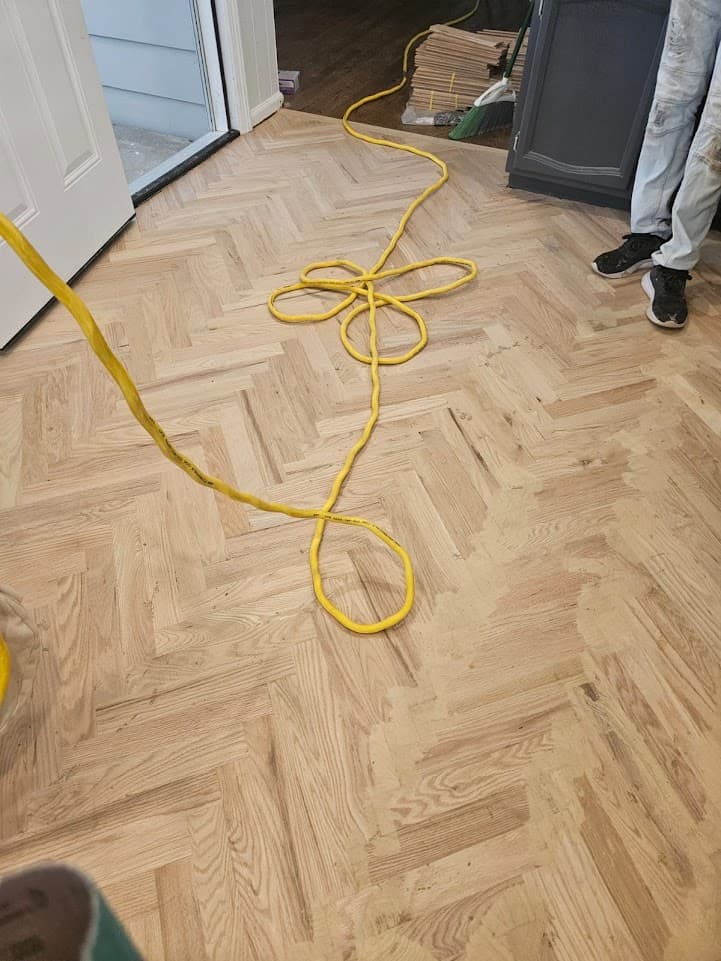
Sanding a herringbone floor differs from sanding a straight-lay because you have to run the sander at 45 degrees to the room's walls — aligned with the grain direction of one set of boards — then run it again at 90 degrees to the first pass to address the other set. This takes longer than a straight-grain floor but leaves a cleaner surface with no cross-grain scratches. The final screening pass runs parallel to the walls and blends both directions.
The finished floor was site-stained and finished by the homeowner's request using a medium-dark stain the owner had selected from a color board. Our role for this documentation ends at the sanded bare wood stage — the photos show the quality of the installation and sanding work that sets up the finish for success. A herringbone pattern is only as good as its substrate, and a flat, clean sand is the most important thing we can give a finisher to work with.
Hardwood Installation
Want This Result in Your Atlanta Home?
This job was completed by our in-house crew as part of our hardwood installation service. We work across Metro Atlanta — free in-home estimates, itemized pricing, and a 1-year workmanship warranty.
Free Estimate
Get a Free Estimate in Atlanta
We'll come measure, assess your space, and quote the project in line items. Most Metro Atlanta projects can start within 1–2 weeks.
Call (678) 663-00921-year workmanship warranty
We stand behind our installs for a full year.
In-house crew
Our own installers — never subcontracted out.
Clear, itemized quotes
Line-item pricing up front. No surprises, no upcharges.
We respect your home
We move & protect your furniture and leave the space spotless.
Financing available
Flexible payment options so budget doesn't hold you back.
Free Estimate
Request a Free Estimate
Fill out the form and we'll reach out today.
Keep Browsing
More Documented Projects
 Case Study8 PhotosLawrenceville, GA · December 2024
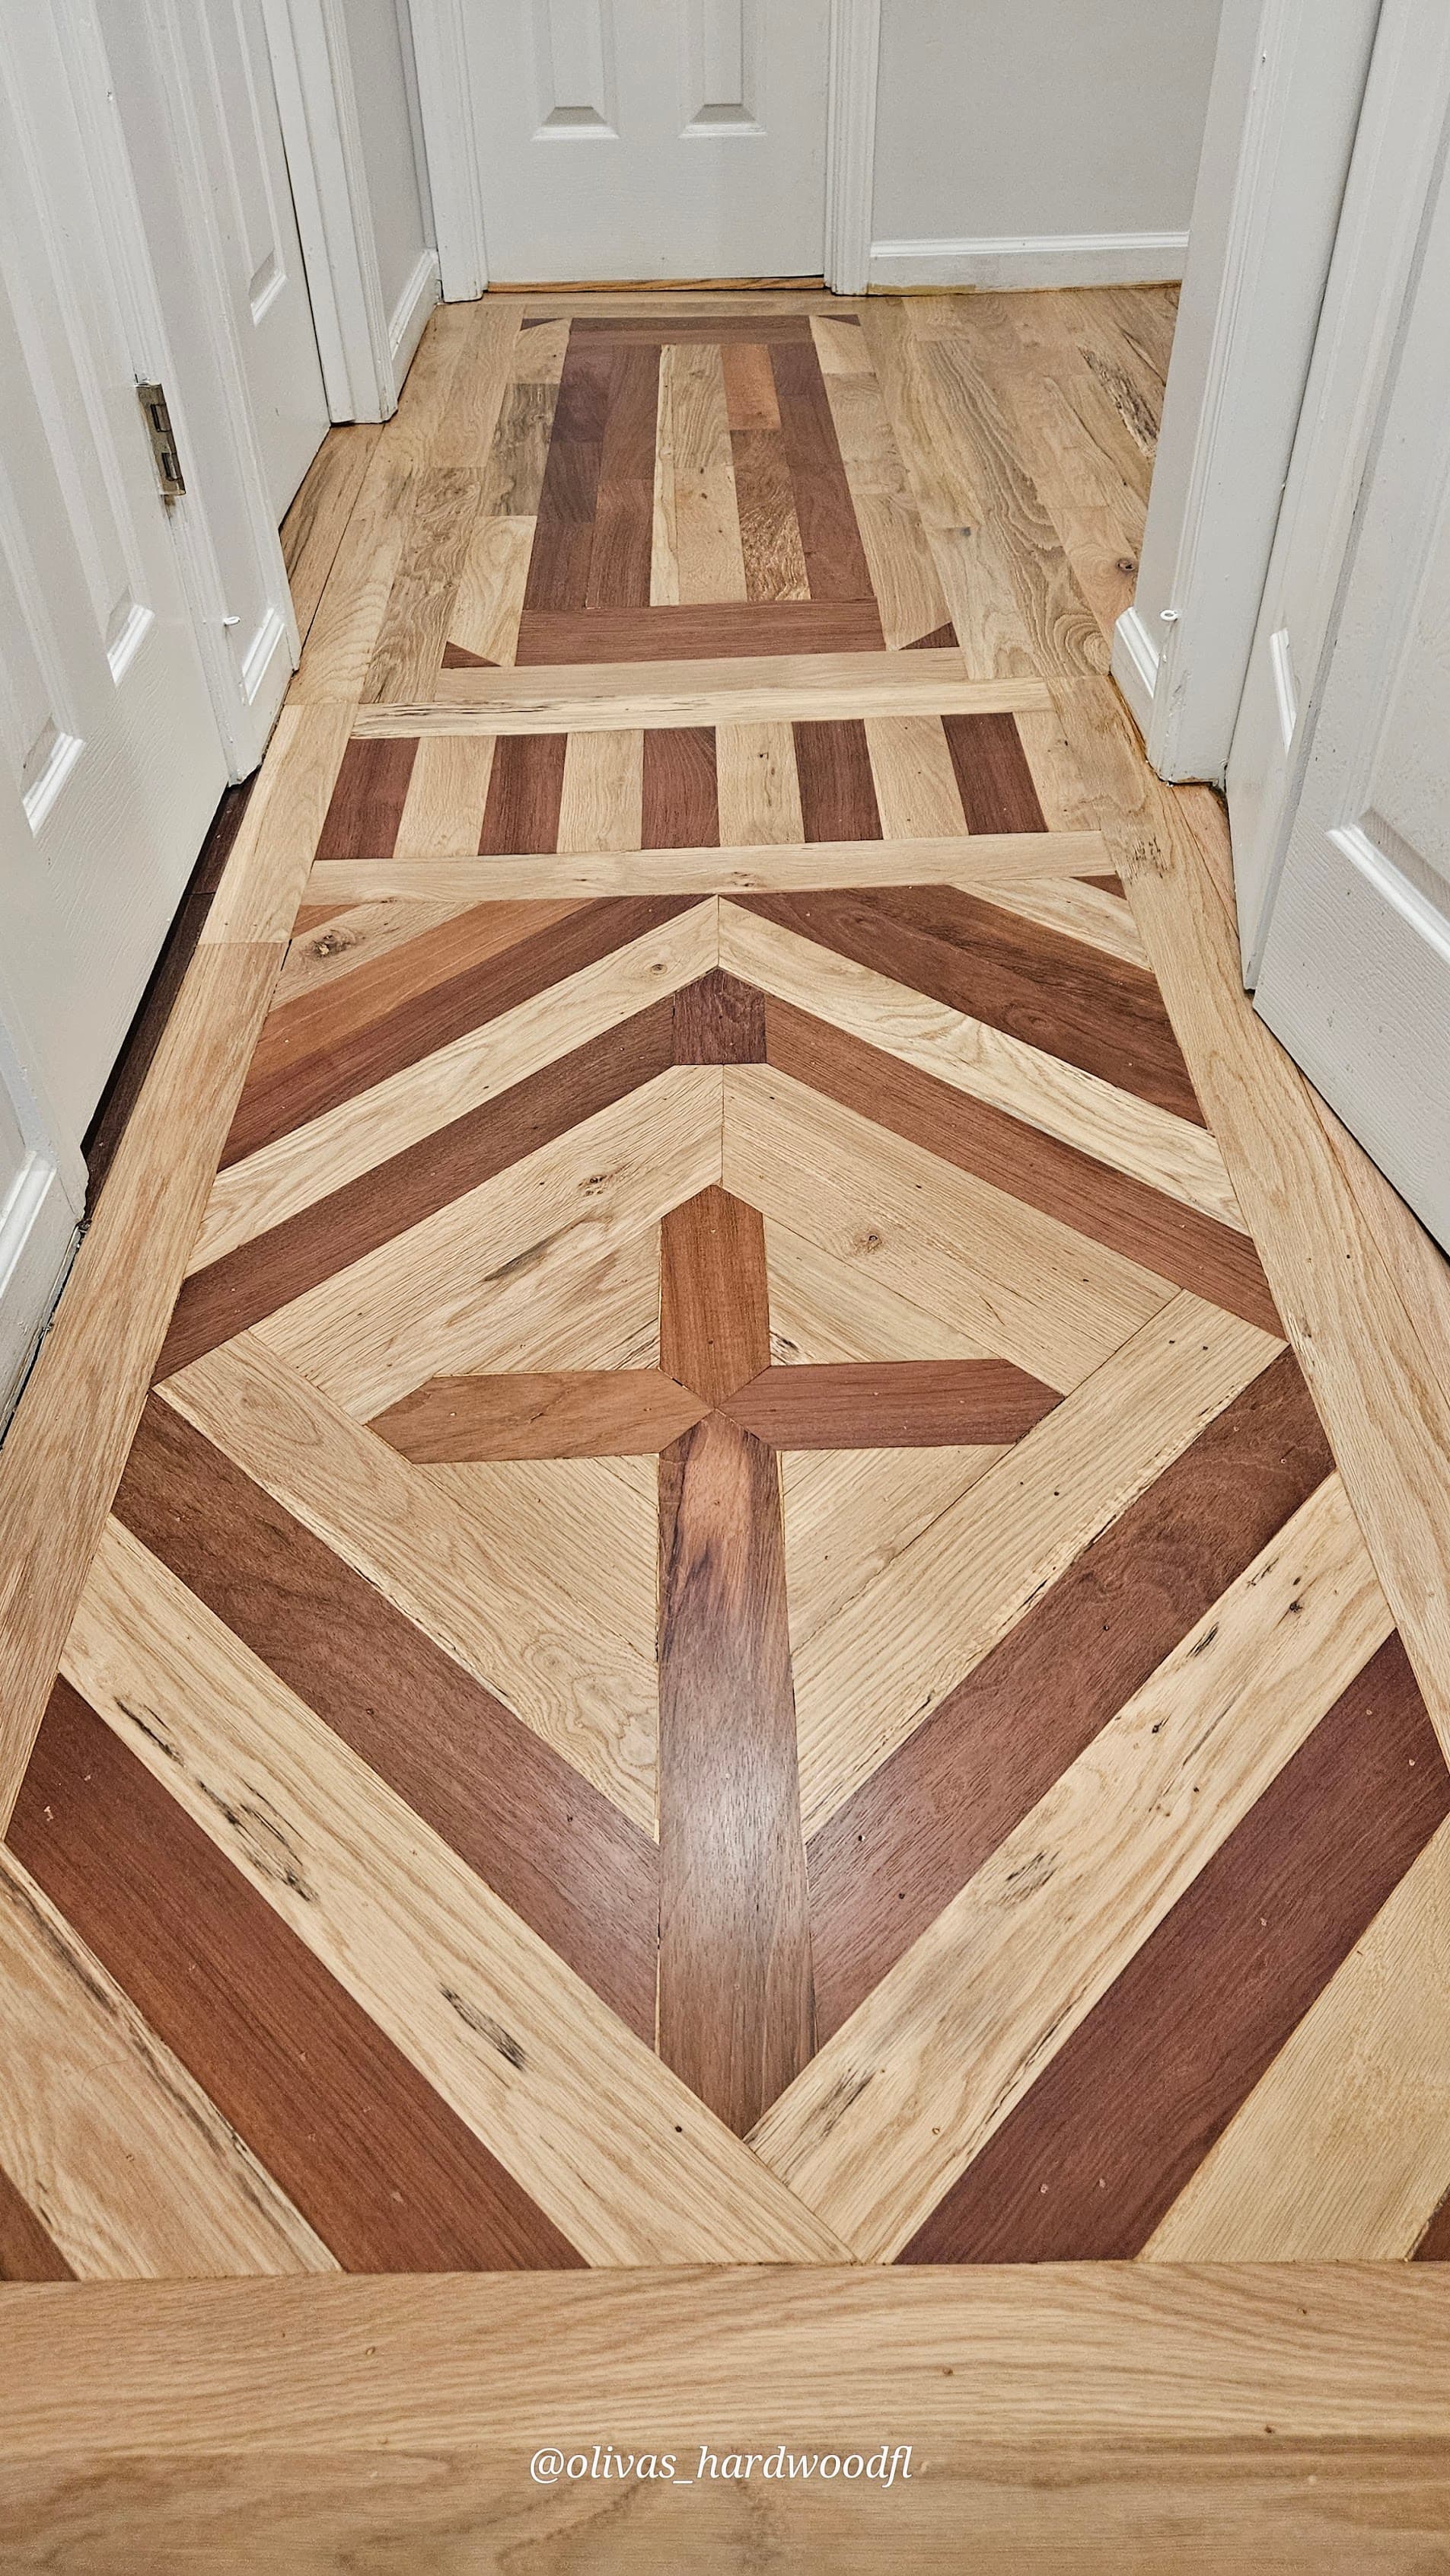
Natural Herringbone with Custom Parquet Inlay — Whole Home
Red oak herringbone · custom parquet inlay · staircase · whole home
A whole-home installation in Lawrenceville combining natural red oak herringbone pattern throughout the main level with custom parquet medallion inlays at the foyer entry and hallway intersections — one of the most technically complex residential flooring projects we document. Eight photos cover everything from the parquet medallion detail to the finished herringbone living room with stone fireplace.
Read the Case Study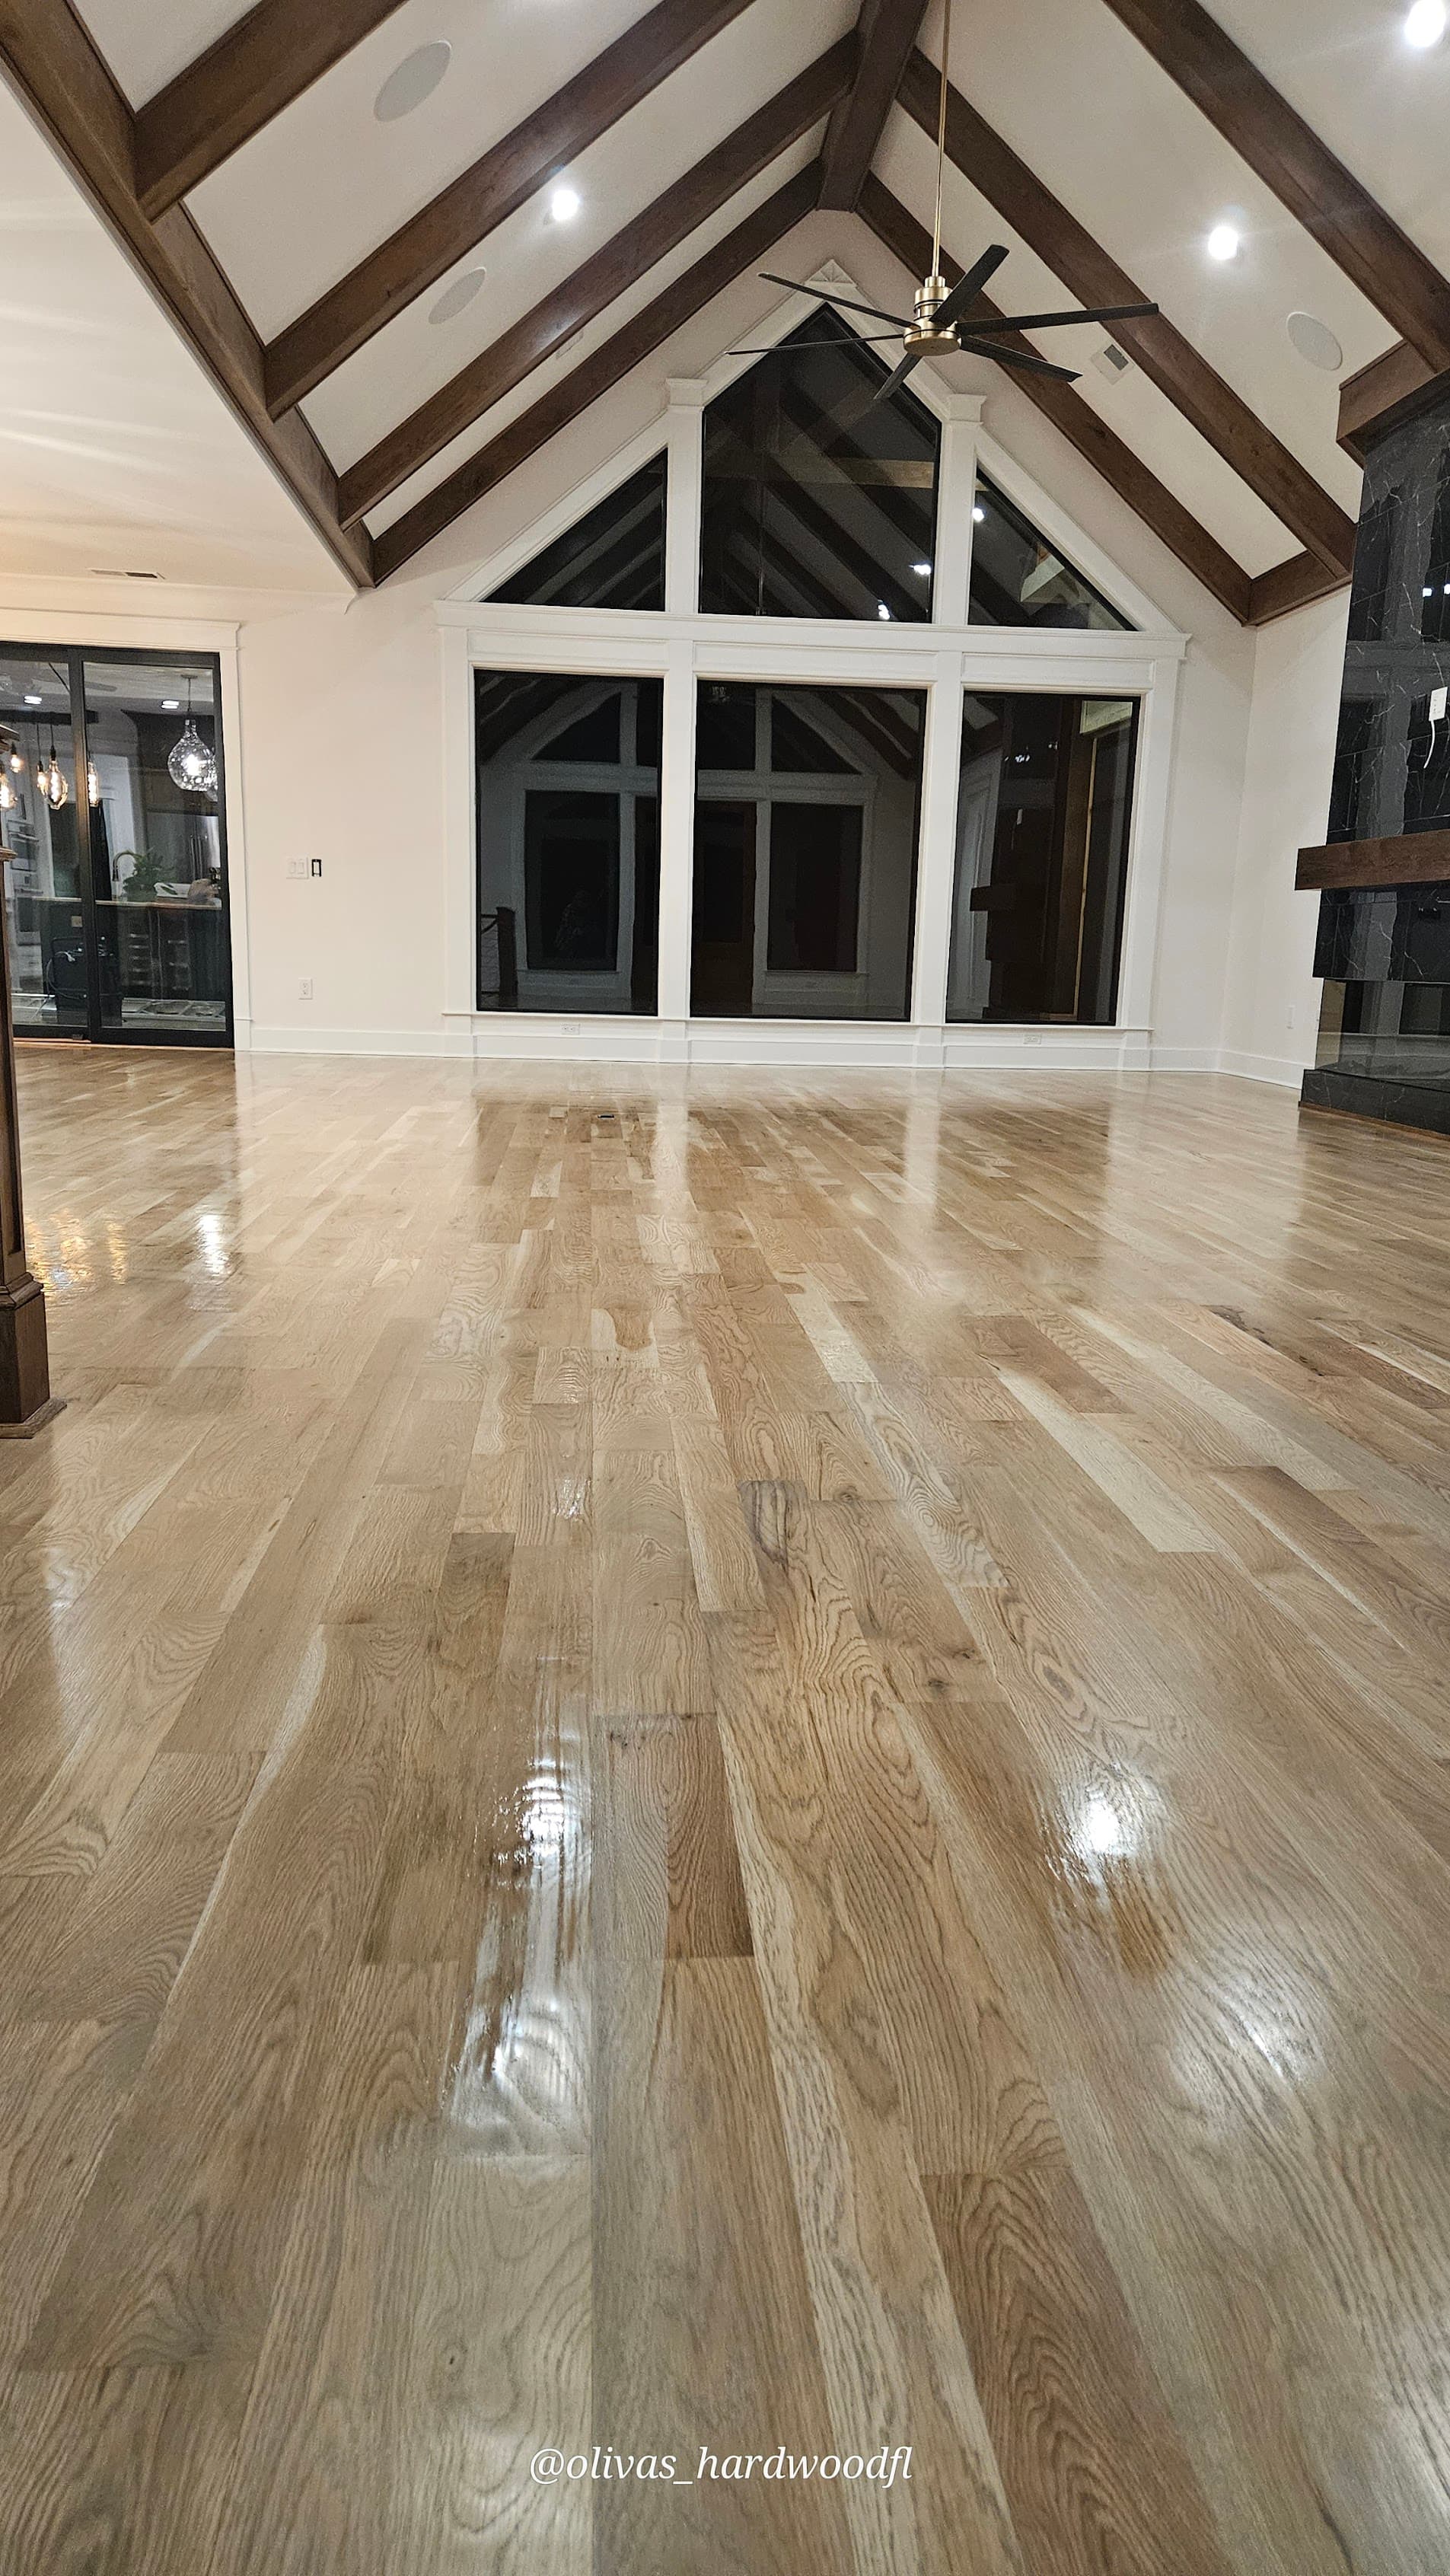 Case Study8 PhotosGwinnett County, GA · March 2025
Natural White Oak High-Gloss — Great Room
White oak · natural finish · high-gloss polyurethane · 1,800+ sq ft
One of our largest documented single-phase refinishing jobs: 1,800+ square feet of white oak refinished to natural high-gloss finish in a Gwinnett County home spanning great room, kitchen, living areas, and hallway. Eight photos capture how the high-gloss interacts with vaulted ceilings, exposed beams, and a blue island kitchen.
Read the Case Study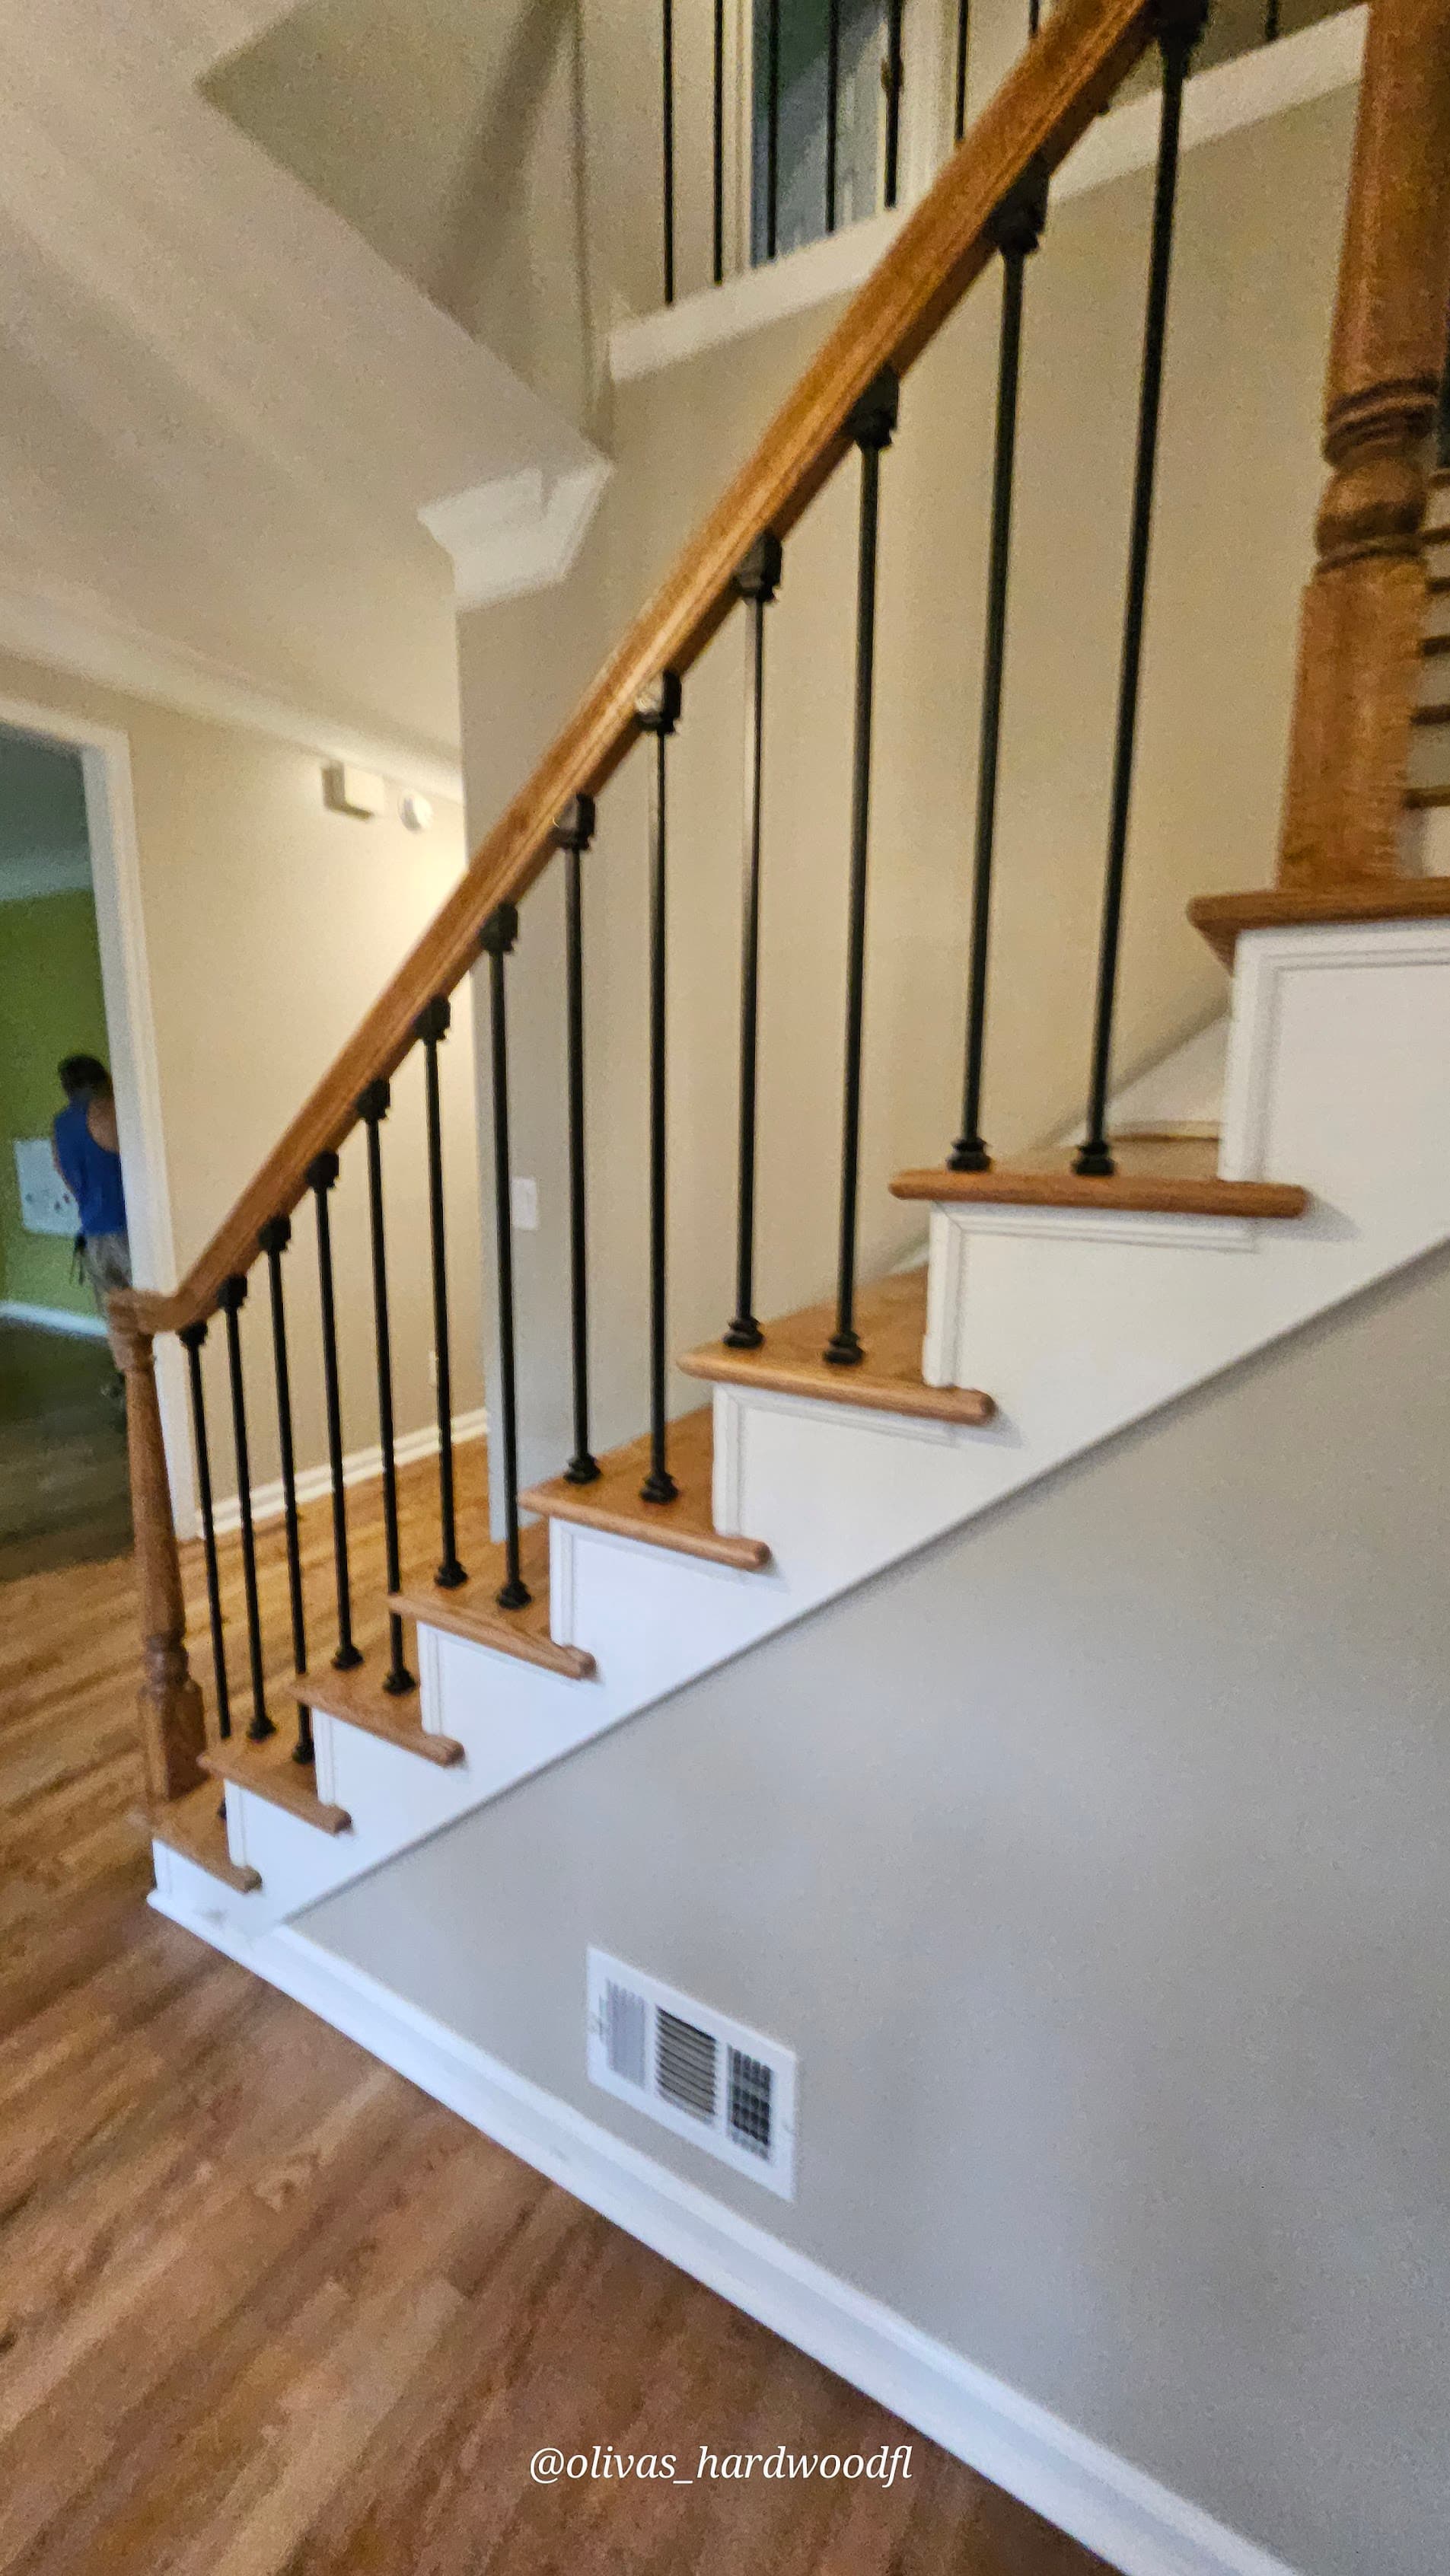 Case Study7 PhotosLawrenceville, GA · June 2025
Natural Oak Treads with Iron Balusters
Natural oak treads · iron balusters · white risers · hardwood foyer
A natural oak staircase renovation in Lawrenceville — carpet removed, oak treads installed, iron balusters swapped in, white risers painted. Seven photos across multiple Atlanta-area properties show how the natural oak and iron baluster combination reads in a range of foyer styles, from simple traditional to open transitional.
Read the Case Study